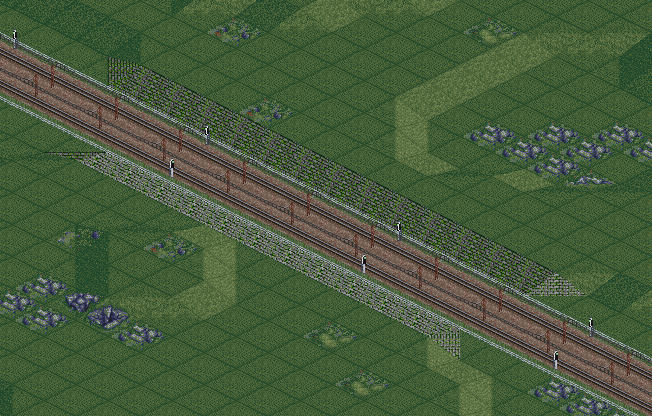
This tutorial will describe how to build railway tracks in the proper JP+ aesthetic style. It is assumed that you are already familiar with the basics of building rail networks, such as path signals, double tracking, and station designs.
Railways can be elevated - see Elevated Railways. They can also be placed underground using some tricks - see Underground Railways.
Driving Side
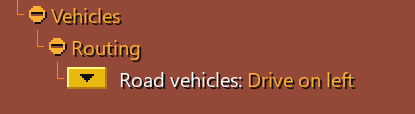
Before building anything, ensure that you choose your driving side, and stick to it. For Japan-inspired games, you’ll want to set your driving side on the left. Driving side affects both road vehicles and trains.
Despite saying “road vehicles”, this setting also affects the position of rail signals:
Note:
It is not possible to change this setting if any road vehicles are driving on your map. You must send all road vehicles to a depot before changing the setting.
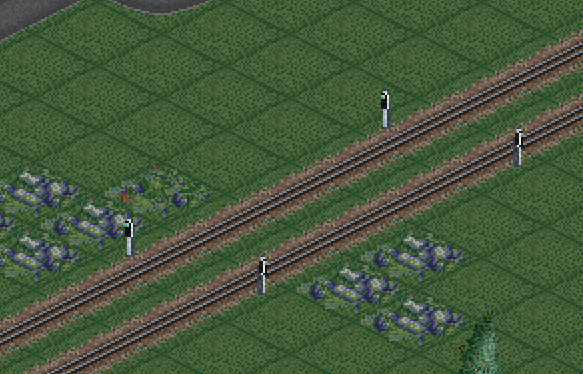
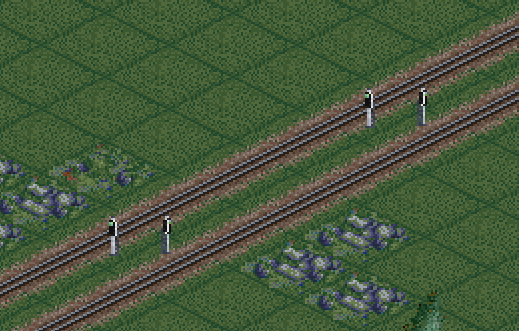
For aesthetic reasons, signals should always be placed on the outside of a double track, like so:
Use this setting if you want to change the driving side of trains independently from road vehicles:
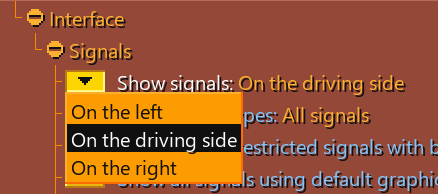
The driving side is retained, but the signals are now on the inside of the track, which looks aesthetically displeasing and should be avoided:
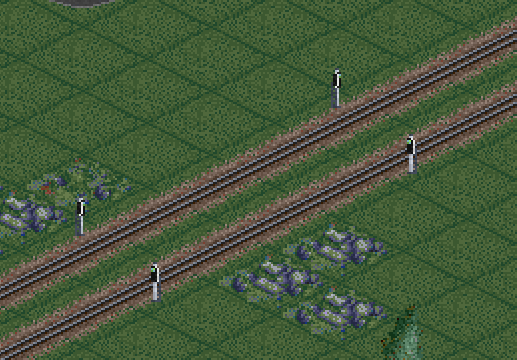
So now we flip the signals to change the driving side, and once again it looks correct:
Curves
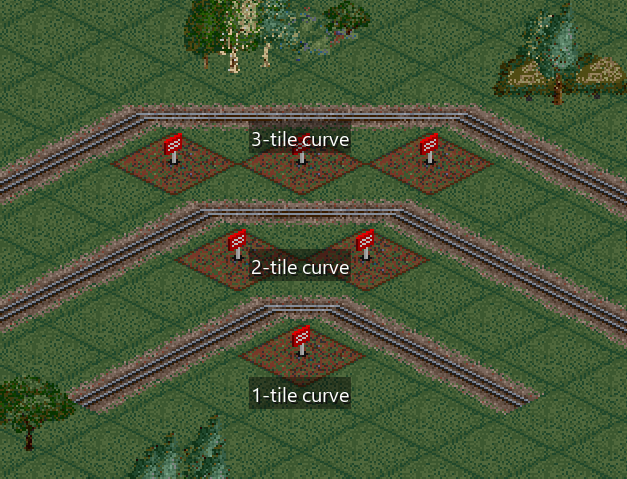
Curve radius is measured by how many tiles fit diagonally on the inside:
Note:
1-tile curves are aesthetically displeasing and should be avoided at all costs. They are only acceptable when hidden in Underground Railways, or perhaps certain applications in yards and low-speed industrial lines.
Each curve radius has a specific speed limit. The speed you want trains to be able to travel at should determine the minimum curve radius for your line. Low-speed Japanese trains have an advantage here, as usually you will be able to get away with 2-tile curves which allows for compact rail lines. Thus, low-speed lines can be built with tight curve radii such as 2 or 3 tiles, but high speed lines such as Shinkansen will require much wider curves if you don’t want them to slow down.
Curve speed is only applied if both ends of the train are in the curve at the same time. The speed limit will not apply if the train is shorter than the curve.
Some trains are tilt enabled which gives them a small curve speed bonus. Maglev tracks have a 2x curve speed bonus.
| Curve Radius | Rail Max Speed | Maglev Max Speed |
|---|---|---|
| 0 tile* | 61km/h | |
| 1 tile | 88km/h | 172km/h |
| 1.5 tiles* | 111km/h | |
| 2 tiles | 132km/h | |
| 3 tiles | 168km/h | |
| 4 tiles | 197km/h | |
| 5 tiles | 217km/h |
Note:
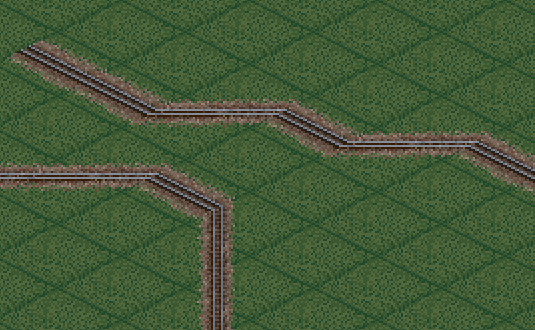
1.5-tile curves are counted as 1 orthogonal tile between two diagonal ones, so both of these examples will slow trains to 111km/h:
Note:
0-tile turns, also known as 90 degree turns, are where two diagonal tracks meet directly. They are not traversable by trains unless you enable a setting. They are to be avoided at all costs.
Slopes
Slopes can also cause your trains to slow down, but in a different way to curves. These are discussed in the Slope Steepness page.
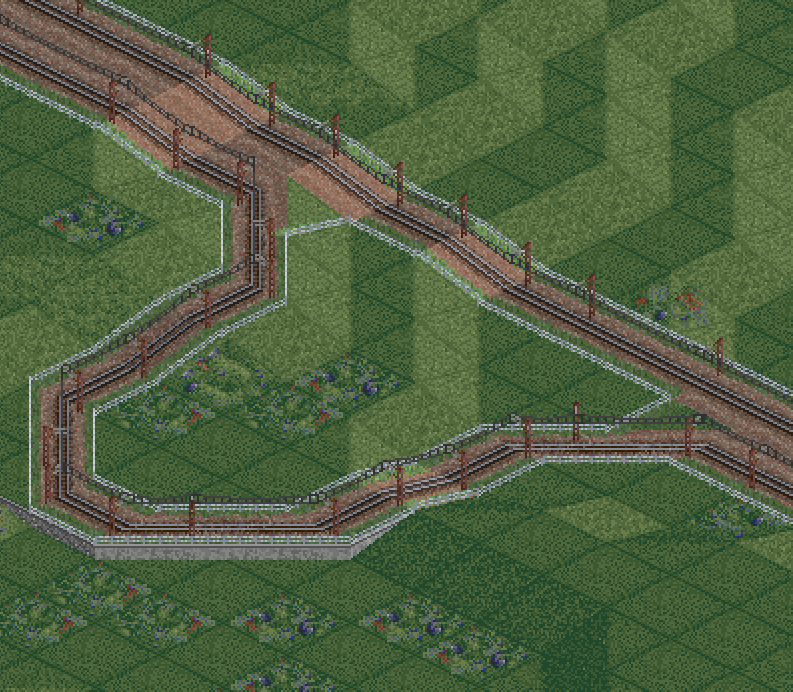
Real life railways are very flat, and often take circuitous routes to avoid steep slopes. To prevent making your railways too steep, avoid putting more than one sloped track in a row. Leave several flat tiles between every sloped tile. The ratio of flat to sloped tiles determines the steepness of your track:
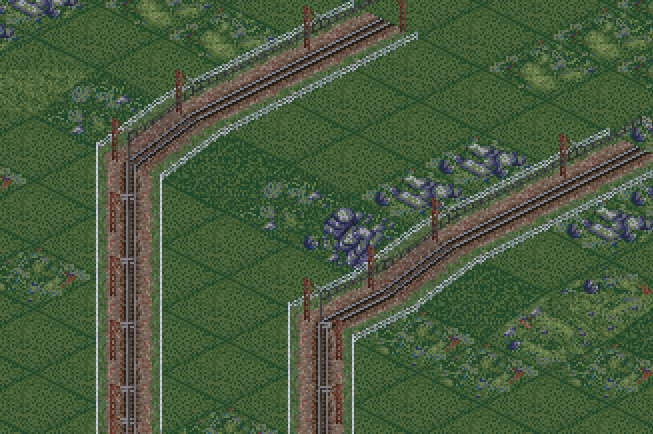
Avoid putting sloped tiles right next to curves. It looks much better if you leave a gap of one flat straight tile between every slope and curve:
Always avoid unnecessary dips and bumps. If the ground is not flat, railway construction usually requires minor terrain editing:
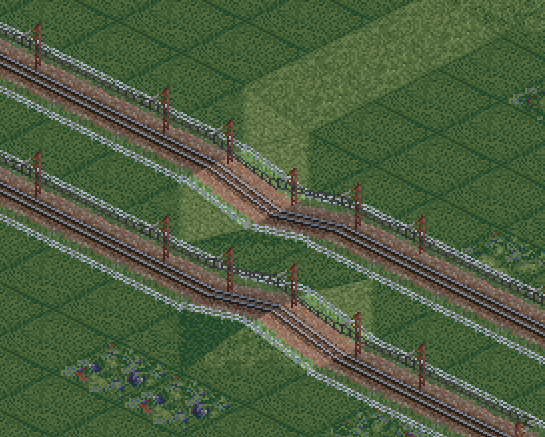
When laying parallel tracks, ensure that the tracks stay flush with each other where possible. There are exceptions in tight spaces and junctions, but in these situations it can look displeasing:
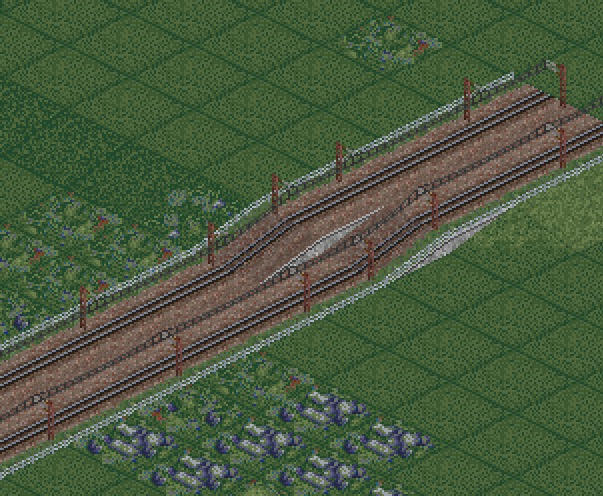
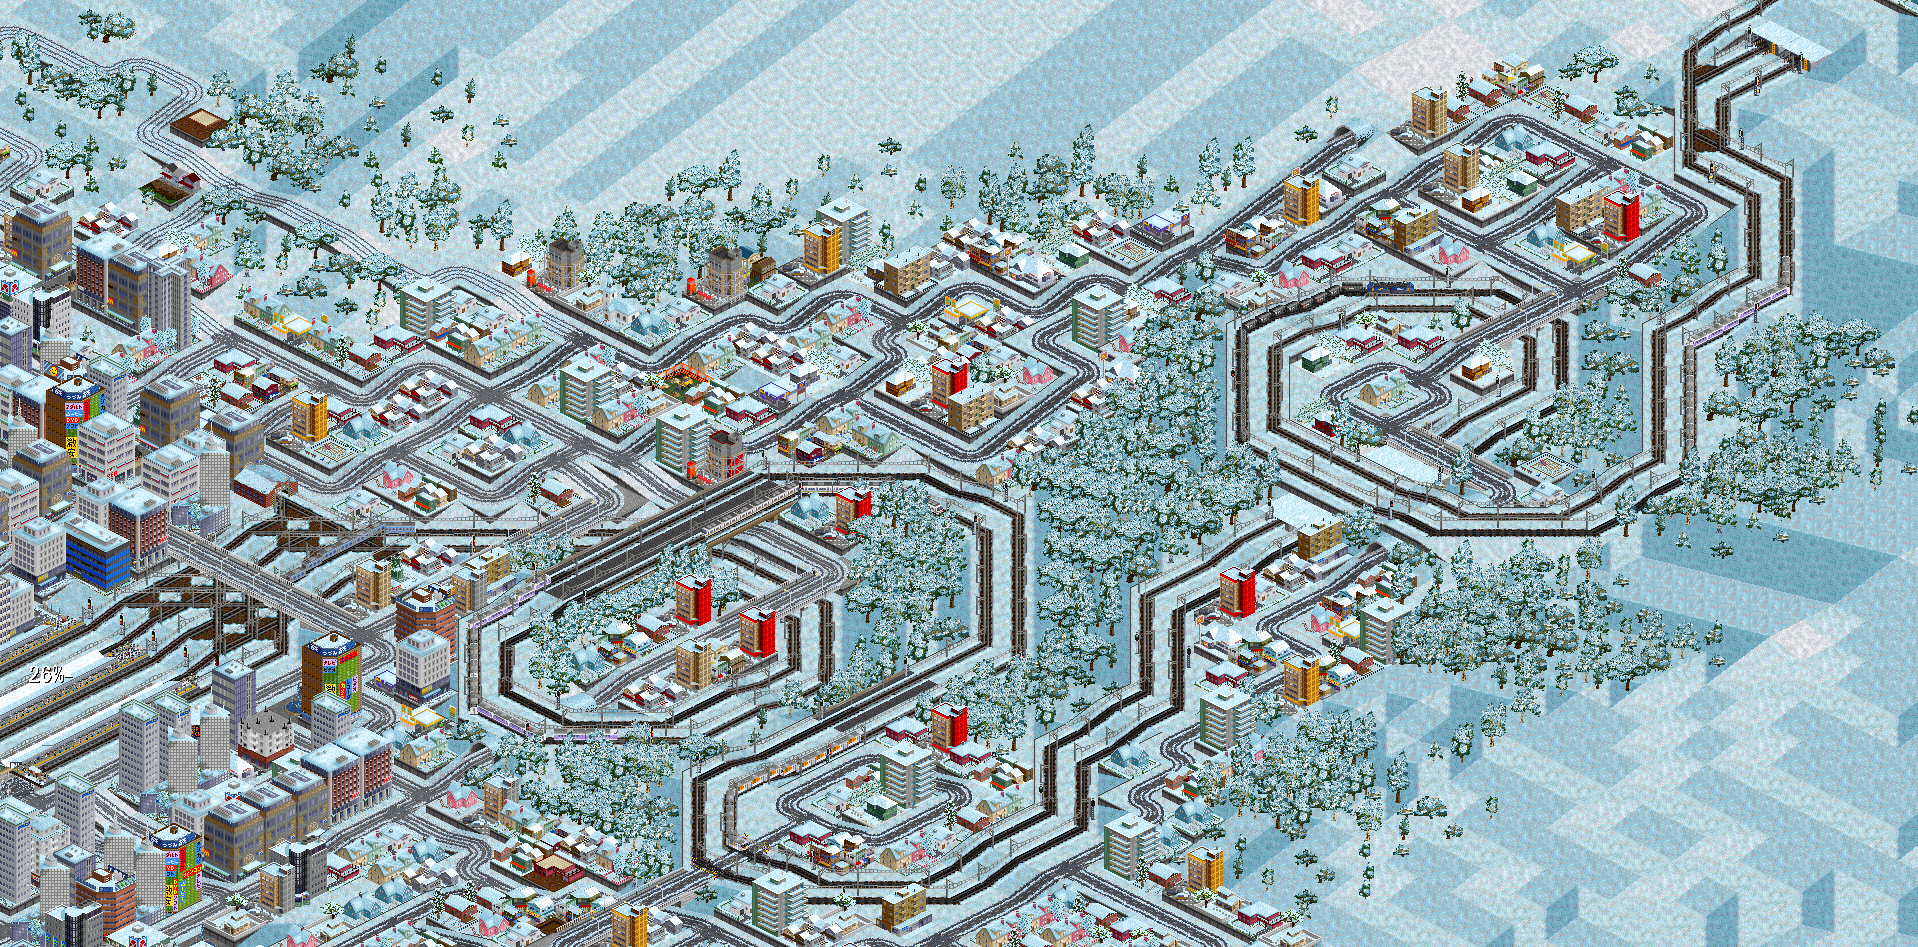
This will require significant terrain editing, but railways can be built in loops that cross over themselves if you need to gain a lot of height levels in a short distance:
Bridges
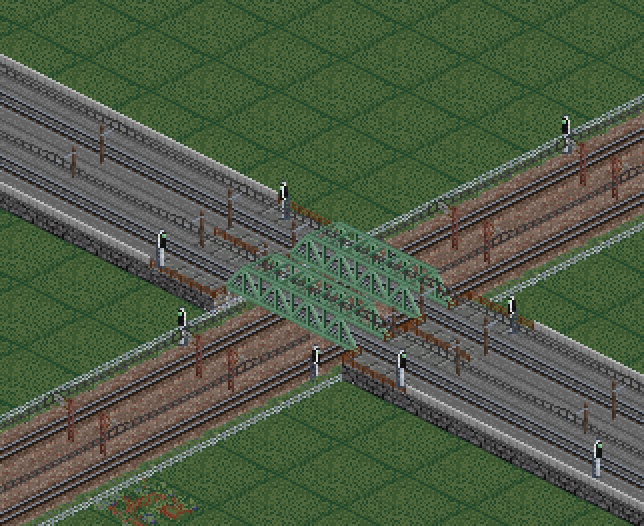
Where possible, avoid placing bridge heads on flat land. Build bridges between two sloped tiles to ensure that the entire bridge is flat. When crossing a river, road or other track, build embankments that allow the bridge to be flat, and include a flat straight tile between the bridgehead and any slopes or curves.
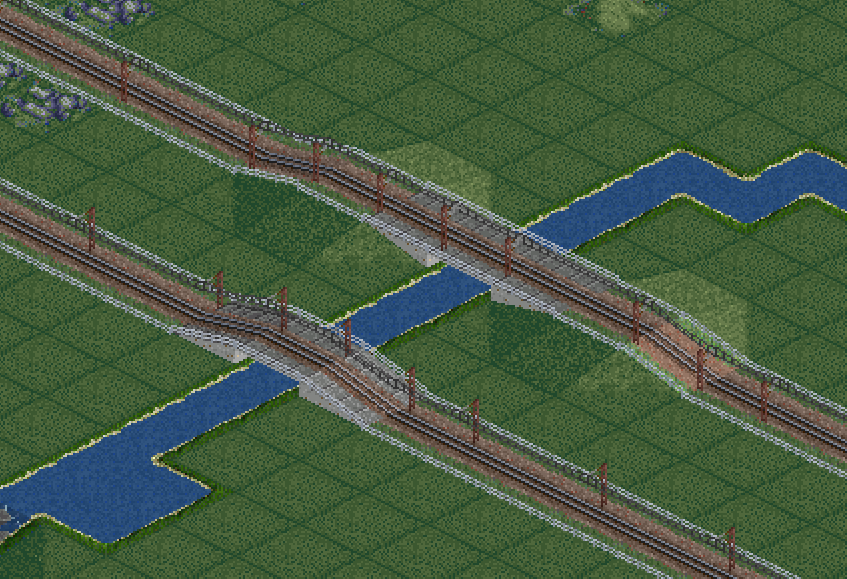
JP+ Bridges significantly improves the appearance of sloped bridgeheads and parallel bridges by providing full-width bridge sprites. This gives the illusion of multi-track bridges and allows much more seamless integration.
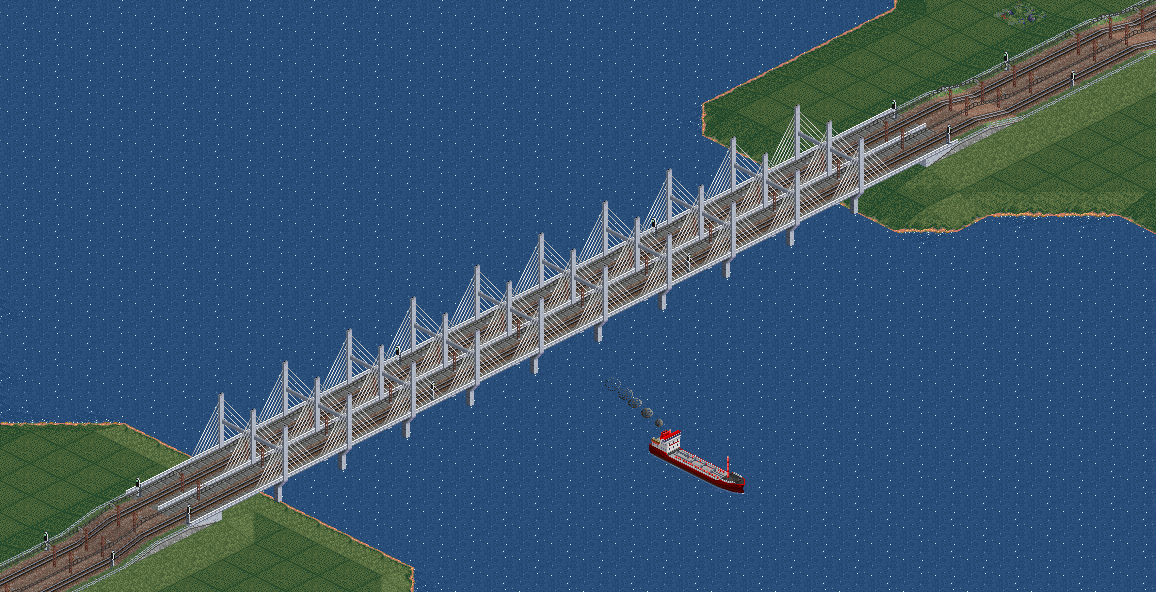
When bridging over navigable waters with large ship traffic, raise the bridge by at least two or three height levels. This looks better and also allows large ships to pass underneath without glitching:
Tunnels
Similarly to bridges, tunnels benefit from some minor landscaping at the entrances. Dig a small cutting on the approach to your tunnel portals.
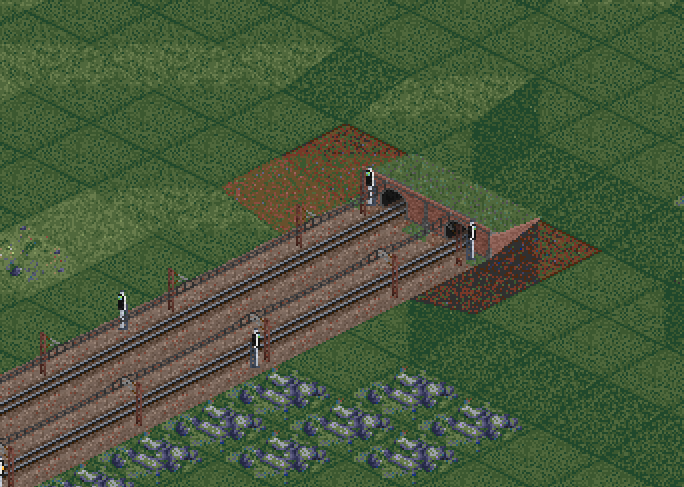
Avoid tunnelling under flat, empty areas with nothing above them. This should be a cutting instead.
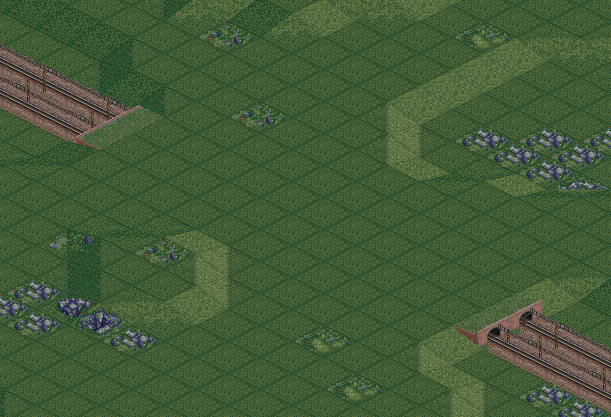
A cutting, or sunken railway, is simply a strip of lowered terrain for the track to pass through. You can use AuzObjects embankment tiles to decorate them. Once the area becomes more built-up, a cutting can evolve into an Underground Railway.